
How to Install PVC Skirting Boards – Step-by-Step
- Floor Safety Store

- Sep 4, 2025
- 4 min read
Skirting boards are a finishing touch in any home or office interior. Not only do they protect walls from damage, but they also bring elegance and style to the room. Of the various materials available today, PVC Skirting Boards have gained popularity due to their durability, low maintenance, and ease of installation. Whether you like sleek black skirting boards, traditional oak skirting boards, or contemporary white PVC designs, learning how to install them correctly can make a big difference in your living space.
In this step-by-step guide, we will show you how to install skirting boards effectively, with a clean and professional finish.
Why Use PVC Skirting Boards?
Before we get into installation, it's worth knowing why PVC skirting boards are a good choice.
Durability: PVC is water-resistant, making it perfect for kitchens, bathrooms, and damp areas.
Low Maintenance: PVC does not warp or rot like wood. Cleaning is as simple as a wipe-down.
Variety: Available in various finishes like black skirting boards, oak-effect, or glossy white designs.
Cost-Effective: Less expensive than hardwood options like oak skirting boards, yet with a modern look.
Ease of Installation: Lightweight and easy to cut, PVC is ideal for DIY.
Tools and Materials You'll Need
To install your new skirting boards, you will need the following tools and materials:
PVC skirting boards (your chosen style, e.g., black or oak finish)
Measuring tape
Pencil and ruler
Mitre box or mitre saw (for angled cuts)
Fine-toothed hand saw or jigsaw
Adhesive (grab adhesive or construction adhesive)
Caulk or filler (for filling gaps)
Sandpaper (for smoothing edges)
Cloth and mild cleaner (for wiping surfaces)
Step 1: Prepare the Area
Begin by clearing the room of furniture and obstructions. Remove any old skirting board with a crowbar or chisel. Take care not to damage the walls in the process. Once removed, clean the surface thoroughly to ensure it is smooth and dust-free.
A clean and even surface will allow the adhesive to stick better and ensure that your PVC skirting boards fit flush against the wall.
Step 2: Measure Your Walls
Use a measuring tape to determine the length of each wall where the new skirting boards will be fitted. Record the measurements and add a small amount of extra length to accommodate errors or adjustments when cutting.
If you're using patterned or textured finishes, such as oak skirting boards, take care to plan the positioning so that the appearance is consistent.

Step 3: Cutting the Skirting Boards
Cutting is the most critical aspect of the installation process. Use a fine-toothed saw or jigsaw to cut your PVC Skirting Boards to the right length. For corners, you'll require precise angled cuts:
Internal corners (where two walls meet inwardly): Cut at a 45-degree angle using a miter box.
External corners (where the wall protrudes outward): Cut at a 45-degree angle but in the opposite direction.
When done properly, these angles will fit together seamlessly, providing a professional finish. Sand down any rough edges for a clean finish.
Step 4: Dry Fit the Boards
Before applying adhesive, fit the cut skirting boards to the wall to test the fit. This step confirms that your angles and measurements are accurate.
For instance, if you are fitting black skirting boards in a contemporary living room, the dry fit enables you to check how the finish appears in the room before committing to adhesive.
Step 5: Apply Adhesive
Once you're happy with the fit, apply a good amount of grab adhesive or construction adhesive to the back of each skirting board. Use a zigzag pattern to provide strong coverage.
Press the board firmly against the wall and hold for a few seconds to allow the adhesive to bond. Repeat this for all boards around the room.
Tip: If your walls are uneven, add small dots of adhesive at various heights along the back of the skirting board to provide a stronger hold.
Step 6: Join Corners and Edges
Carefully align the angled cuts at the corners so that they meet seamlessly. If there are small gaps, don't worry you can fill them later with caulk or filler. For longer walls, where two boards meet, make a straight cut and join them together neatly.
Step 7: Finishing Touches
Once all the PVC skirting boards are fitted, check the joints, corners, and edges. Seal any gaps between the wall and the skirting board using caulk or filler. This not only enhances the look but also keeps dust and dirt from accumulating in the gaps.
Clean the boards with a cloth and mild detergent to remove adhesive residue or dust.
Design Tips for Skirting Boards
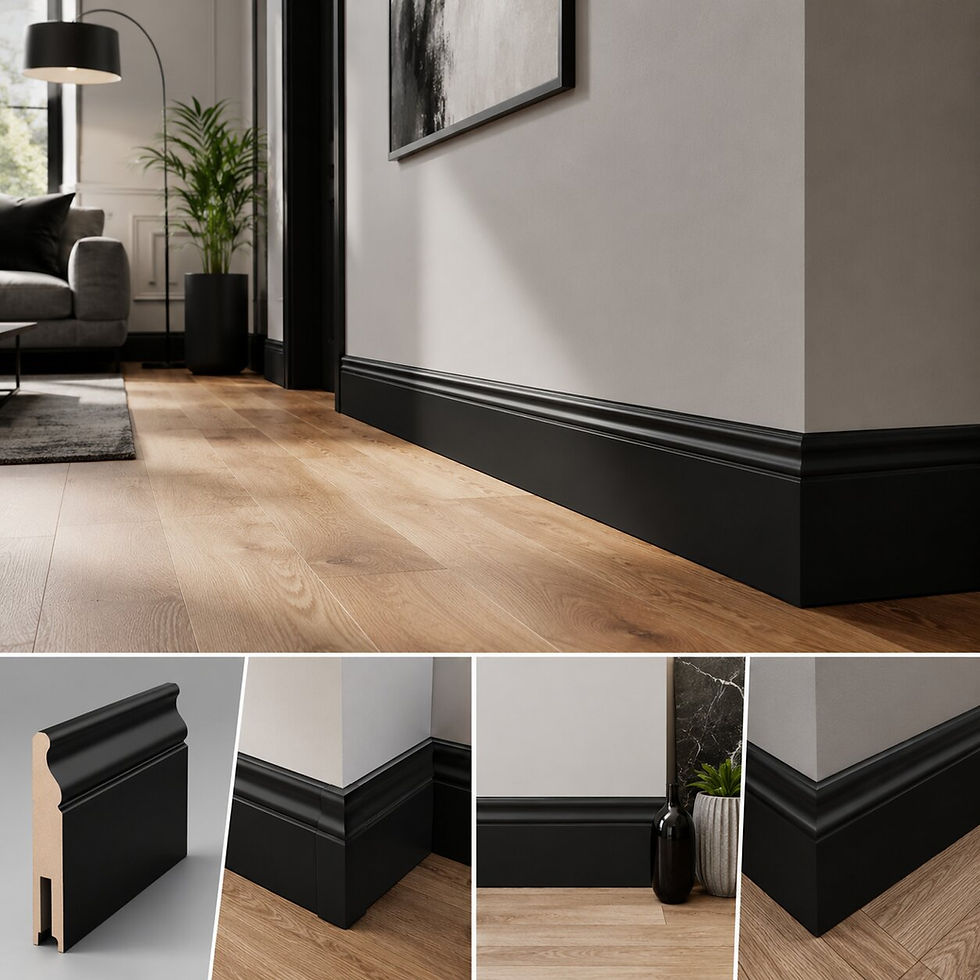
Black Skirting Boards: These make a dramatic, modern look, particularly against light-colored walls. Ideal for modern interiors.
Oak Skirting Boards (PVC effect): Ideal for homeowners who adore the warmth of wood but desire the low-maintenance advantages of PVC.
White PVC Skirting Boards: A classic choice that works well with most interior styles.
Mixing and matching styles can also produce a distinctive effect. For instance, combining black skirting boards with minimalist furniture creates a dramatic visual impact.
Maintenance of PVC Skirting Boards
It's easy to maintain your new Skirting Board installation. Clean with a damp cloth to remove dust and dirt. Unlike timber, there is no need to sand, varnish, or repaint. This low-maintenance aspect is one of the primary reasons homeowners choose PVC skirting boards over traditional wooden ones.
Conclusion
Installing PVC skirting boards is an easy DIY job that can give any room a new look and feel. With a few basic tools and the right preparation, you can achieve a polished, professional finish. Whether you choose bold black skirting boards, classic oak skirting boards, or sleek modern designs, these skirting boards bring style and durability to your home.
By using this step-by-step guide, you'll not only protect your walls but also enhance your interior décor with a clean and stylish finish.


Comments